Measuring Large Engines for Small Gaps
What Keeps us Flying
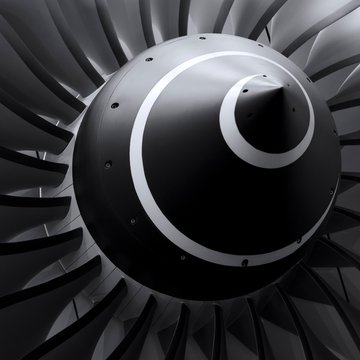
Nowadays, turbines are the most common means of propulsion for commercial airplanes. After decades of research and continuous optimization, the turbofan has established itself as the most efficient turbine engine for speeds between 500 km/h and 1000 km/h, which is the most common travelling speed for commercial jet airplanes. They only seem to be a small part of the plane when you see them attached to the wings, but standing on their own, they are gigantic pieces of technology.
The fan of an Airbus 350 engine, for example, has a diameter of 3 meters – almost twice the size of the average human. These fans are among the most prominent – and most important – parts of the entire engine. It is their job to “suck in” the air, which is then compressed and accelerated by the turbine to produce the jet stream that makes the airplane fly.
Runtimes of 30 years are common
Demanding security standards of the airline industry
Development and construction of aircraft engines is a time-consuming and expensive process. Therefore, airline companies try to keep them in operation as long as possible. Runtimes of 30 years are common. To allow this, the demanding security standards of the airline industry demand each turbine to undergo a strict maintenance schedule. In 2015, almost 25 billion US-Dollars were invested in maintenance, repair and overhaul (MRO) of aircraft engines. Experts claim that this sum will reach 46 billion Dollars by 2025. Still it is more cost-effective to invest in MRO instead of replacing older engines with new ones. It goes without saying that the highest quality standards apply for such a vital piece of technology. Construction and maintenance demand the utmost precision.
With parts as carefully designed as turbine fan blades, any deviation from the original layout may have grave consequences. At the same time, they are among the most highly stressed parts of the engine. Even though they are made of the lightest possible materials their considerable weight and rotation speeds of several thousand rounds per minute make them subject to huge centrifugal forces. Even small particles may cause substantial damage and during flight they are often exposed to harsh environmental conditions such as sub-zero temperature. Humidity and the sulfurous residues of fuel combustion lead to an increased danger of corrosion. All these factors may cause the blade to lose its initial shape.
Modern measuring methods
with laser technology

Easy handling - high reliability
The slightest change in the clearance gap between the fan blade and the surrounding casing may cause inefficiency, unreliability and noise production. Until recently, this distance was measured by hand using a slip or taper gauge. Naturally, this method was time-consuming and prone to inaccuracies. More accurate and consistent results can be obtained using the laser-based GapGun. British specialists at Third Dimension developed this specialized gap measuring tool using MVnano line laser modules by LASER COMPONENTS.
It has been successfully deployed by leading aeronautics engine manufacturers for both gap and surface measurements. It is also possible to take radius measurements on the trailing and leading edges of the blade – including form measurement.
The output from the GapGun can be a simple go/no go decision, as recorded measurements are compared to acceptable limits, or the profile can be exported as a point cloud, which may be imported into a CAD program to compare measurement data to the nominal values. In industry applications reliability and repeatability of the results were thus improved by a factor four.
Measurement principle
Beyond Borders
Originally designed as a portable device for quick gap measurement, the GapGun is based on laser triangulation. A laser stripe is projected across the surface of a part to determine the measurable feature. At the same time, an integrated camera system takes images of this static laser line from different angles. Using the known angle between the camera and the projected laser, combined with a range of proprietary optical tuning and analysis steps, the GapGun software calculates the dimensions of the surface covered by the laser. The measured data points form a digital copy, which is then used to analyze the measured surface, instantaneously comparing it with tolerance bands, logging against serial numbers and transferring to a data store. Because a laser is a clean form of structured light, and the recording process is automated, measured data is highly reliable and can be used as a reliable source for quality control and process analytics.
When it comes to aircraft engines, the same method is applied at a fixed position, which allows for the highest possible level of repeatability and consistency. Besides from engine blade measurement, the aerospace industry also uses the GapGun to check welds, as well as the fit of panels in airplane structures for inaccuracies that could cause aerodynamic disturbances or worse: quality problems.
The right product
for measuring tools
Modern Measuring Tools for Industrial Production
FLEXPOINT® MV Series for 3D Image Processing
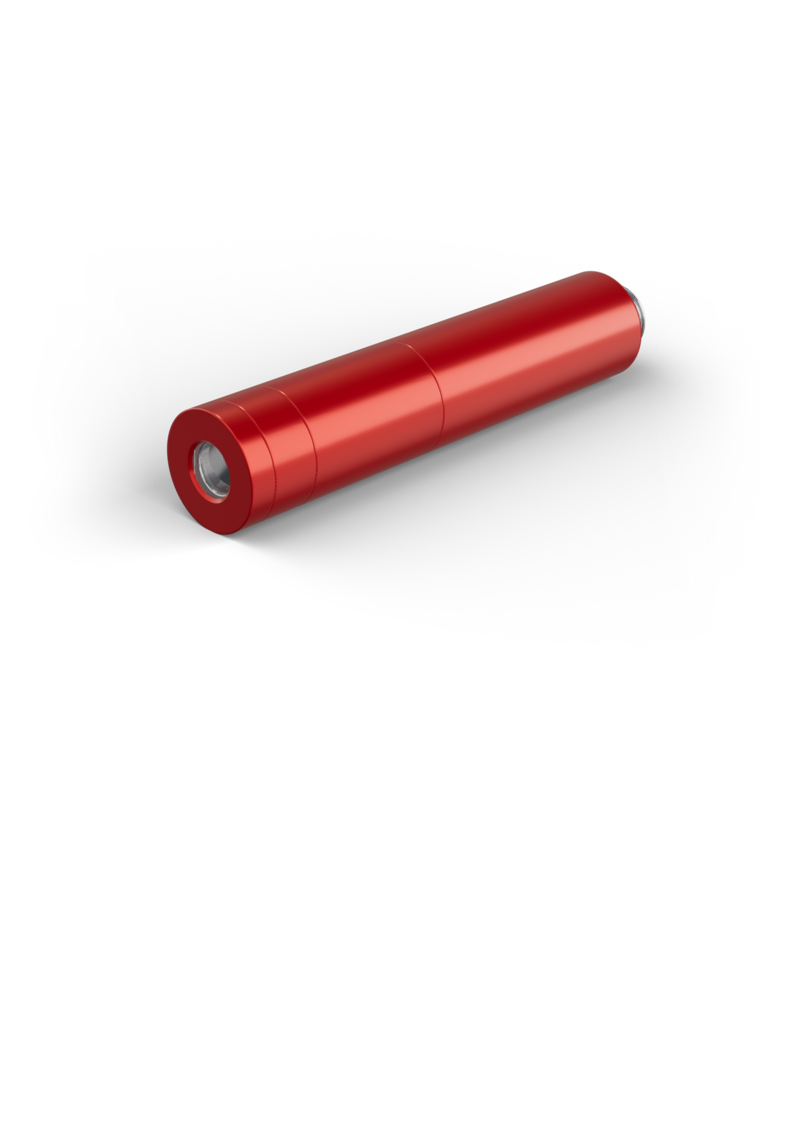
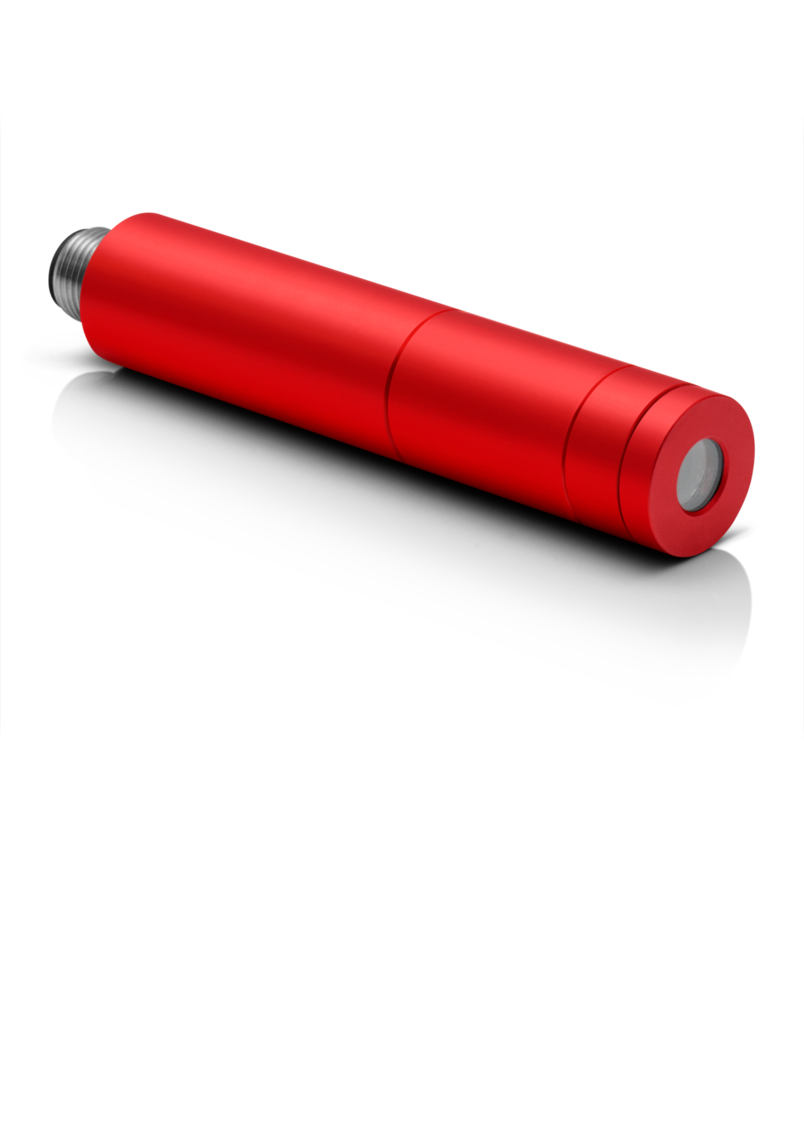
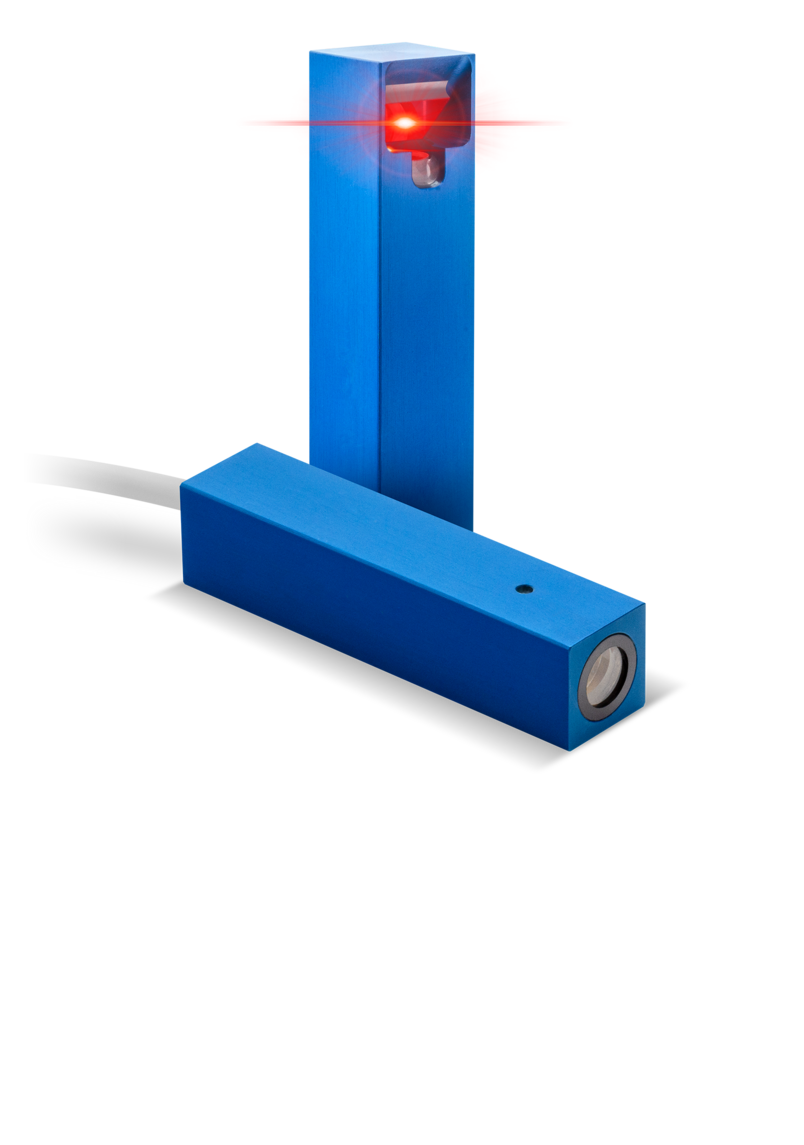
LASER COMPONENTS manufactures custom laser modules; in fact, a special series was developed for use in industrial image processing: the FLEXPOINT® MV series line lasers. FLEXPOINT® laser modules provide the transport industry with new solutions to old measuring problems in production. They are also used as alignment aids and for non-contact measurement. In combination with cost-effective detectors, cameras, and a simple software, laser technologies lead to precise and reproducible measurements in a short amount of time. Where taper or slide gauges were once used, a single instrument is now sufficient for sustainable measurements.
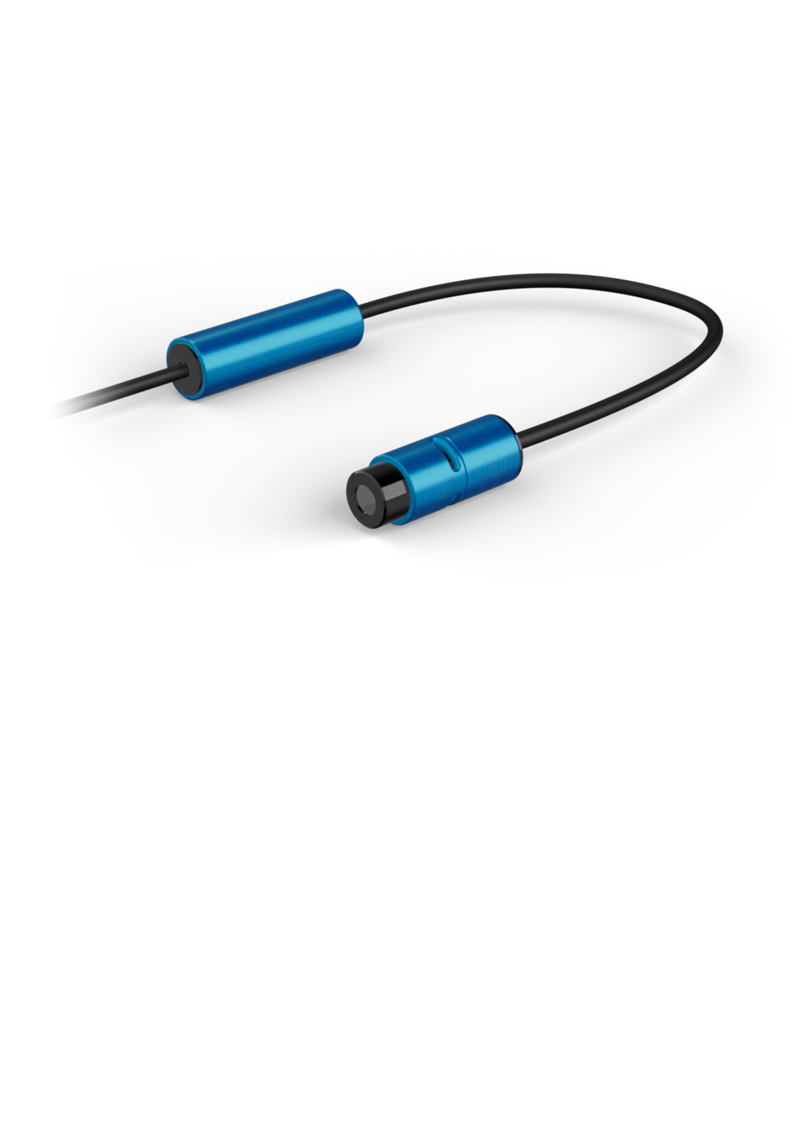
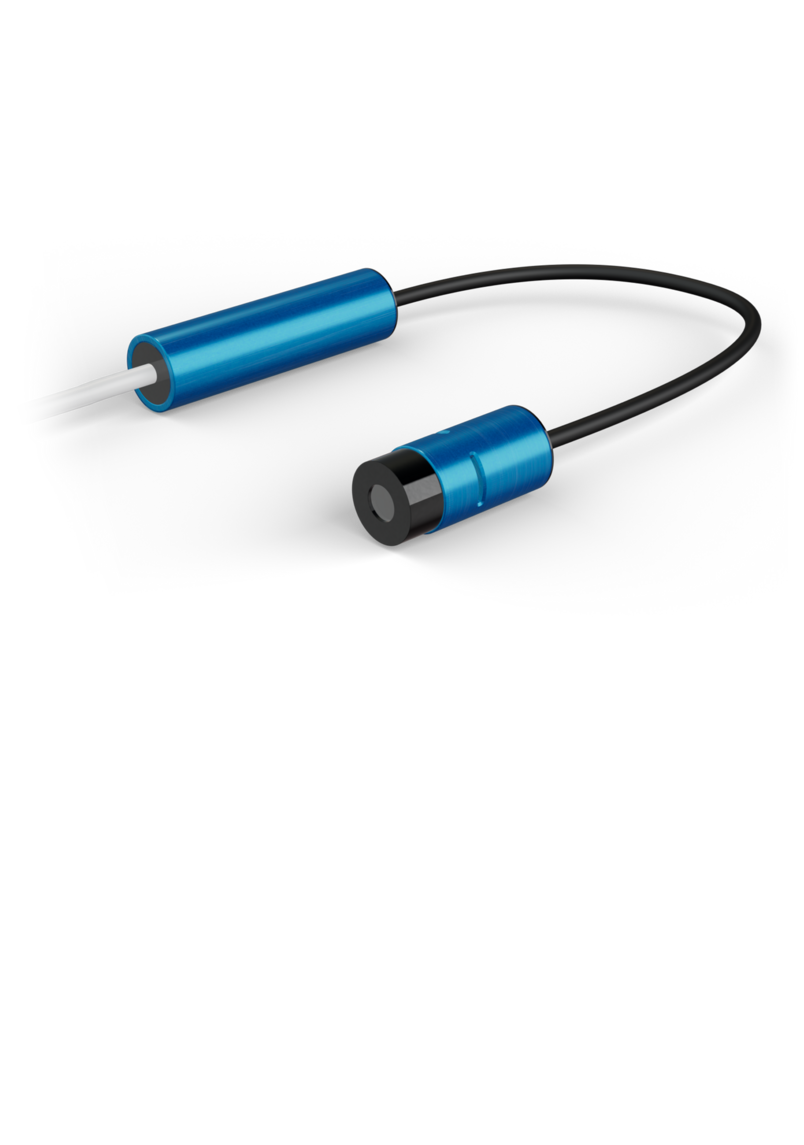
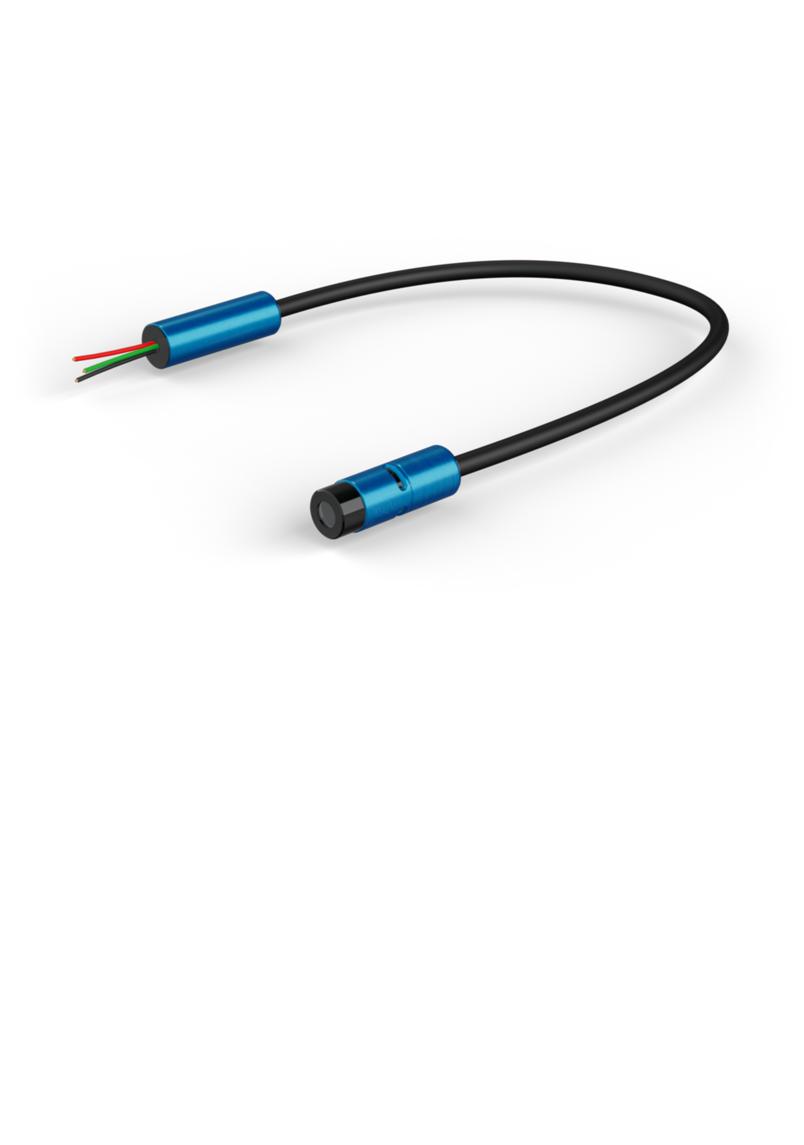
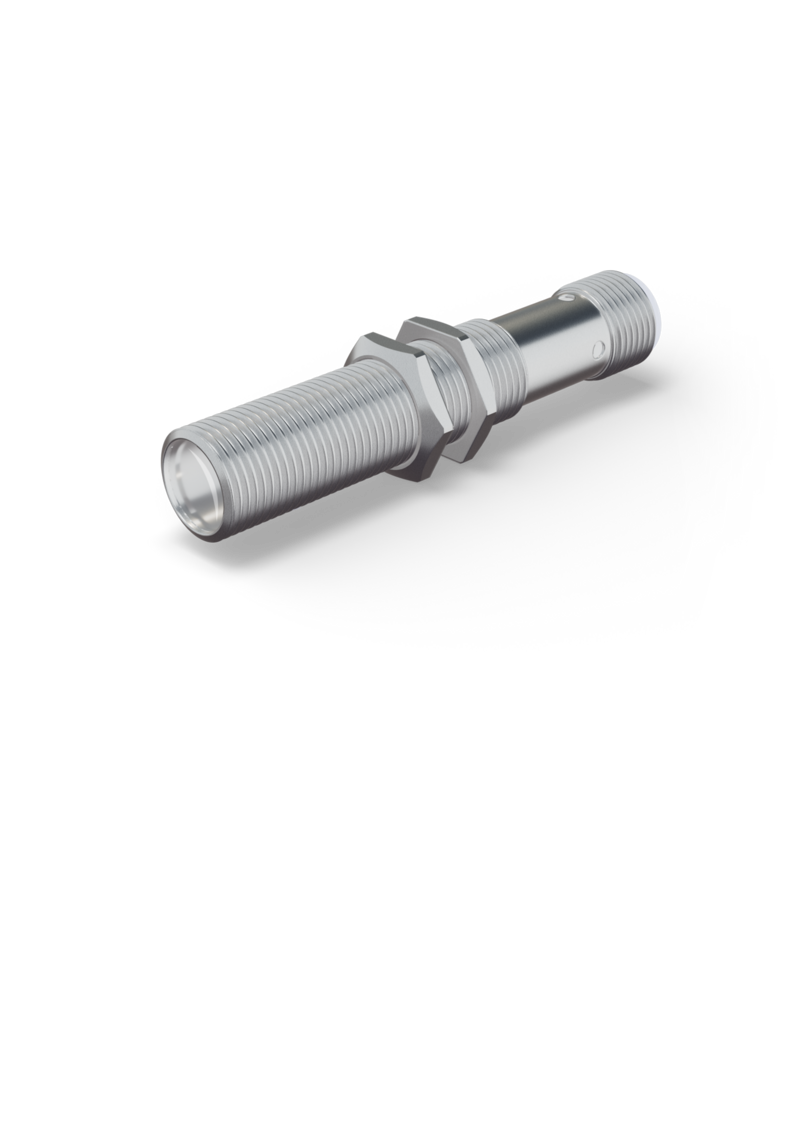
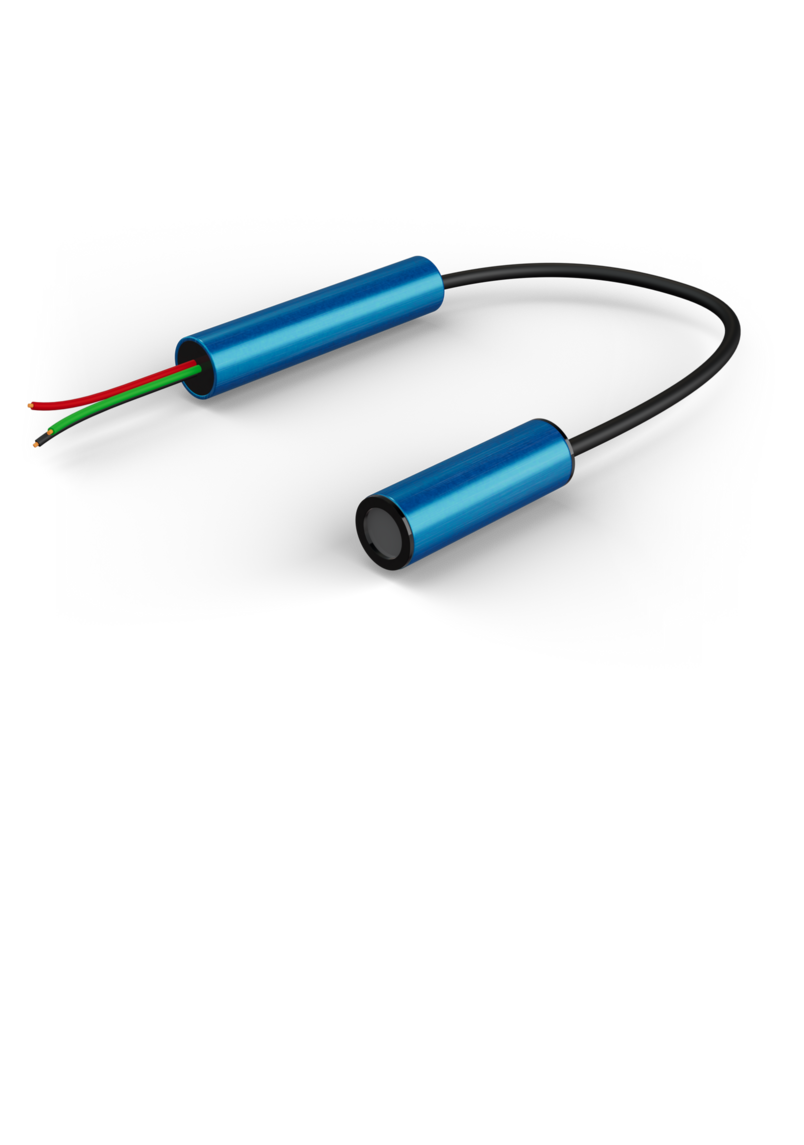
The FLEXPOINT® MV series laser modules include a wide range of product families that have one thing in common: they are available in three different versions. In addition to the standard module, in which laser optics, laser diodes, and electronics are combined in one housing, it is often necessary to physically separate the optical and electronic elements due to space reasons. Some customers even dispense with factory control electronics in order to conveniently integrate the laser module into their own electronics.
The manufacturer can meet all demands and build the desired versions individually according to the wavelength, power, and beam profile specifications. In order to withstand harsh industrial conditions, the housings are certified up to IP67 (i.e., they are dustproof, preventing the penetration of foreign bodies, and waterproof if immersed only temporarily in water).

Click here
Downloads
Beyond Borders
LASER COMPONENTS France - Your competent partner for optical and optoelectronic components in France.
Welcome to LASER COMPONENTS S.A.S., your expert for photonics components. Each product in our wide range of detectors, laser diodes, laser modules, optics, fiber optics, and more is worth every Euro (€/EUR). Our customized solutions cover all conceivable areas of application: from sensor technology to medical technology. You can reach us here:
1 Bis Boulevard de la Reine
78000 Versailles
France
Phone: +33 (0) 139 595 225
Email: serviceclient(at)


