Quality Assurance for Laser Optics
Layer Thickness Measurement in the Manufacturing Process
Such thin layers cannot of course be measured with a caliper gauge. Being able to assess the quality of laser optics requires the kind of specialist knowledge that is only acquired with a university degree. Our experts not only check the layer thicknesses but also other important criteria such as transmission behavior, layer homogeneity, and the laser damage threshold. This starts during the coating process: In optical broadband monitoring (BBM), the transmission behavior of a so-called BBM test glass is continuously monitored directly in the high-vacuum coating chamber. A high-resolution spectrometer detects a wide wavelength range that extends into the near IR range.
From the measurement results, it can be deduced whether the layer thicknesses produced correspond to the specified design. The measurements are performed reproducibly at an accuracy of ±0.4%. In this way, layer increases of less than 0.1 nm can be measured in one second. With the correct knowledge of the material constants, the measurement results can also be extrapolated to wavelengths outside the in-situ measured spectrum. Deviations from the desired optical behavior can thus be compensated during the manufacturing process.
Is the Wavelength Okay?
Checking the Spectral Characteristics

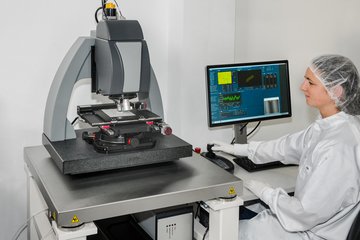
Of course, the customer’s specifications not only concern the layer thickness. The spectral behavior of the coated optics is also tested. For standard optics with diameters up to 120 mm, we use a spectrometer that covers a wavelength range from the deep UV to mid-IR range.
Transmission and reflection of an optic are determined at different angles of incidence and polarizations at the same measuring point. In this way, we can draw conclusions about absorption and scattering from the measurement results. If it is not possible to measure directly on the part, we use a witness sample which is produced with each batch and stored at our premises.
And on the Edge?
HOMOGENEITY MEASUREMENT

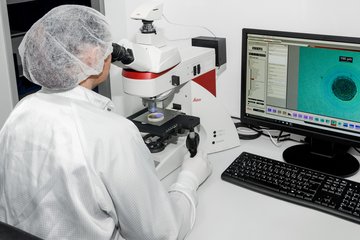
In order for an optical system to have the same effect on the laser beam regardless of the point of impact, the dielectric coating must be evenly distributed across the entire surface. Spectrometers are also used for measurement – mostly as complete systems. This leads to problems in the evaluation of large substrates, such as those required for terawatt lasers in research centers. With diameters of up to 380 mm they are simply too large, too thick, and too heavy for commercial spectrometers. Especially for these products, however, the demands on layer homogeneity are particularly high. Therefore, a spectrometer is used for control purposes, in which a movable measuring head can measure different positions on the optics.
Detecting the Smallest Defects
Beyond Borders

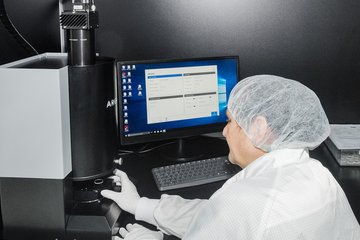
In addition to thickness and homogeneity, the cleanliness of the layers is a decisive quality feature. The most common defects include scratches, holes, or smears. In reflected scattered light or in transmission, experienced precision opticians can detect damage up to a size of 10 µm. This visual inspection is one of the fastest and most reliable procedures to date. Nevertheless, it remains dependent on the personal judgment of the examiner.
There are now machines available that can also carry out objective measurements on these optics and, if desired, document the quality by means of appropriate pass/fail test reports. Special dome illumination ensures that the test object is uniformly illuminated and that the extremely high-resolution cameras can also detect damage at a size of 5 µm – in some cases even up to 1 µm.
Indestructible?
Beyond Borders

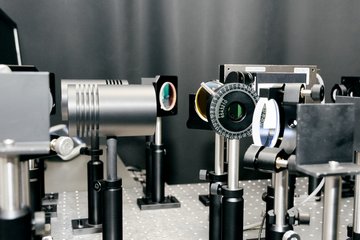
The higher the energy of the laser, the more important the subject of laser-induced damage threshold (LIDT) becomes. Anyone who, similar to LASER COMPONENTS, manufactures optics for industrial and high-energy lasers will inevitably have to deal with LIDT. In order to determine the damage threshold, the optics are “bombarded” with a pulsed laser: ten positions are exposed 200 times each to a pulse with a defined, constant pulse energy. The coating can be damaged at some of the test points and remains intact at others. From the ratio of damaged and undamaged positions, the probability of damage for the set energy density (J/cm2) is calculated. The procedure is then repeated with a higher energy density. At the end of the measurement process, a curve is obtained from which the damage threshold of the entire optics can be read. LASER COMPONENTS has its own damage threshold measuring station for the wavelengths 532 nm and 1064 nm for investigations in the production process and quality assurance. The typical pulse length is about 10 ns and angles of incidence between 8° and 57°.
Documenting Everything Accurately
Beyond Borders

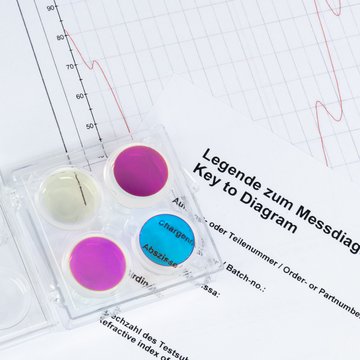
BBM, spectroscopy, surface assessment, and damage threshold measurement are just four examples from the arsenal of possibilities we can use to ensure the quality of our optics. Inspection and verification are carried out according to documented procedures in accordance with ISO 9001, and the measurement protocols for spectrometric examinations are enclosed with the delivery upon request. In this way, we not only ensure that our customers’ lasers work exactly according to specifications. We also save you the effort of extensive incoming and quality control.
Measuring for Innovations
State-of-the-art measuring techniques not only help us with quality assurance. We also use them to expand the possibilities of our technologies and find new solutions. As we manufacture our optics according to the specifications of our customers, we are confronted with requirements which result in joint development projects. For example, many oxides are not suitable as coating materials for UV radiation below 350 nm due to their high absorption. In this case, new layer designs must be developed. However, this is only possible because we can use spectrometers that cover a wavelength range from UVC to the mid-IR. We also use modern measurement technology for our own innovations; for example, when it comes to optimizing the production processes of our optics production facilities.


